Over-the-Door Pantry Rack vs Slim Pantry Cabinet for Renters
Choose an over-the-door rack when a compatible door can still open, close, and latch with the rack installed and you only need shallow, modest-load storage. Choose a slim freestanding cabinet when you can spare its full floor-and-door-swing footprint and follow every assembly and tip-restraint instruction. Neither format is automatically suitable for a rental just because it can move out with you.
As an Amazon Associate, The Good Home Doc may earn from qualifying purchases.
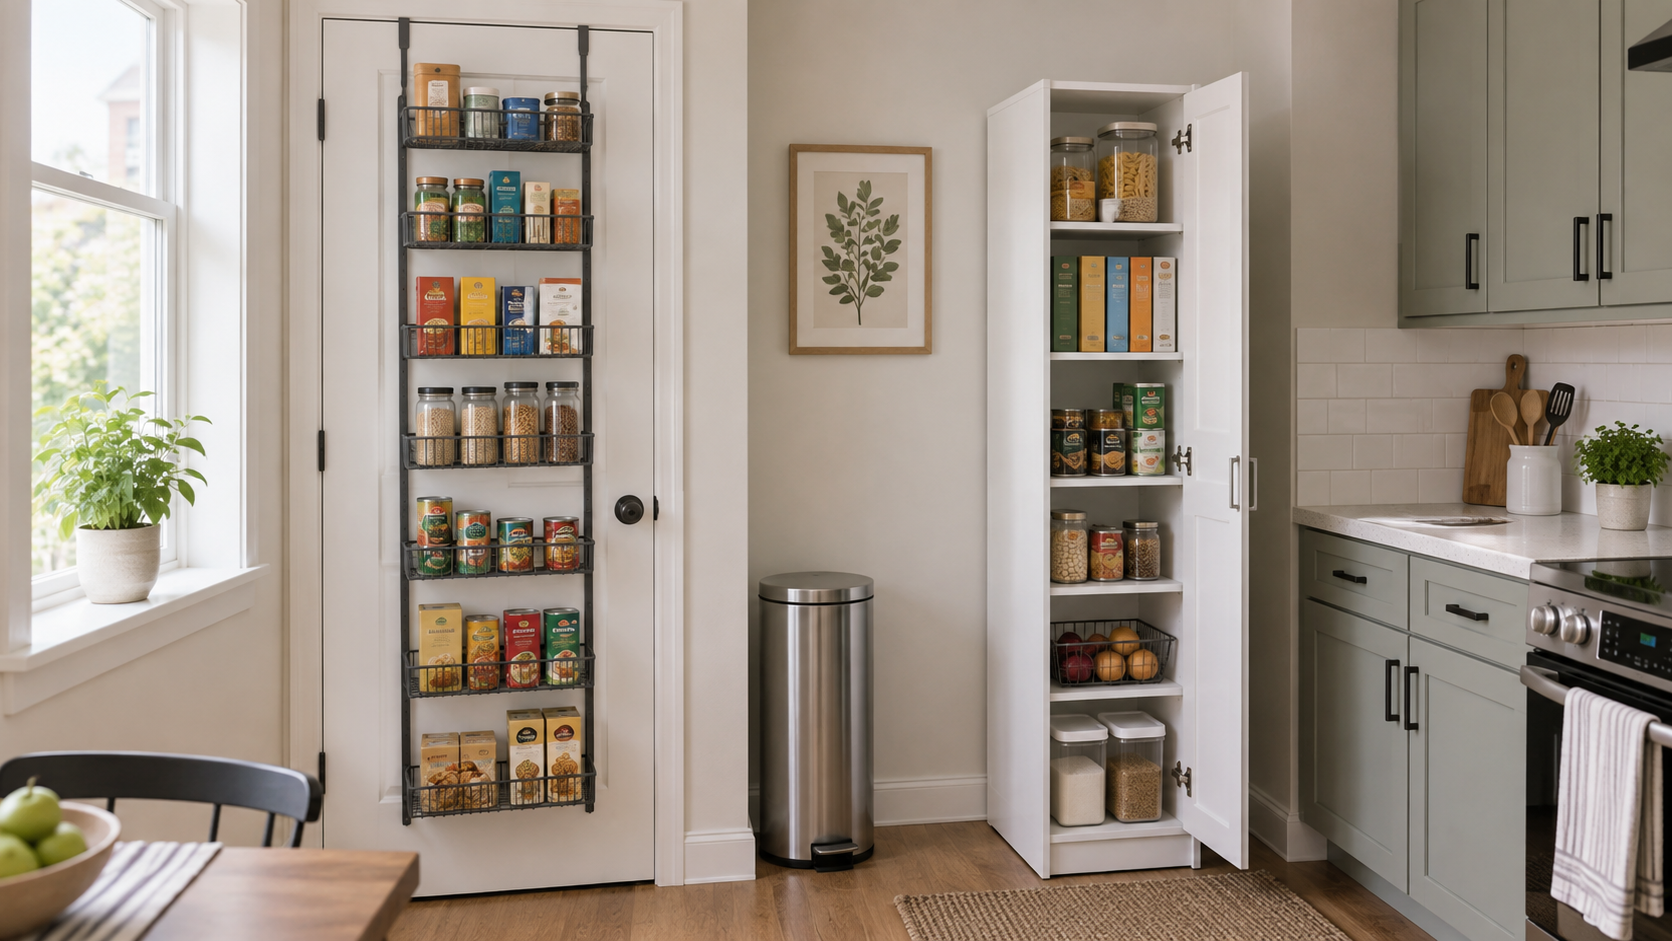
Quick decision before shopping
First measure the available space, identify the setup or surface constraints, and decide who will maintain the item. Skip the category if it blocks access, conflicts with the manufacturer's instructions or lease, or adds more upkeep than the problem justifies.
Compare the two removable storage formats: Browse category: shop over-the-door pantry racks or Browse category: shop slim freestanding pantry cabinets.
These are category searches, not tested winners. Verify complete dimensions, mounting or restraint instructions, stated loads, included hardware, surface contact, assembly, cleaning, and your lease before buying.
The short answer
- Choose the door rack when the exact door thickness, top gap, trim, hinges, handle, swing, and stored-item depth all fit—and ordinary door use remains easy.
- Choose the slim cabinet when a measured floor location, complete door swing, baseboard clearance, assembly route, and required restraint plan all work.
- Skip both when either option blocks an exit, walkway, appliance, vent, utility access, or required door operation, or when the lease and product instructions conflict.
Door space versus floor space
The useful comparison is not advertised capacity. It is which part of the kitchen can support storage without creating a new daily problem. A door rack borrows space from both sides of a moving door. A cabinet occupies floor area continuously and may need extra room in front for its own door, drawers, or pullouts.
Mark each complete footprint with removable paper templates. For the rack, include basket depth and the arc swept by stored packages. For the cabinet, mark the body, open door, handles, baseboard gap, and the standing space needed to reach the lowest and highest shelves.
Side-by-side comparison
| Decision point | Over-the-door rack | Slim pantry cabinet |
|---|---|---|
| Space used | Door face, top clearance, and swing path. | Floor footprint plus access and door-swing space. |
| Best contents | Packages that fit shallow baskets within the maker's load guidance. | Items that fit the shelf dimensions and documented shelf loads. |
| Main fit risk | Door will not close, latch, clear trim, or move normally. | Cabinet blocks circulation, rocks on the floor, or cannot use the required restraint. |
| Setup | Usually fewer parts, but door geometry must be exact. | More assembly, leveling, placement, and possibly wall-restraint planning. |
| Moving | Compact hardware may be easier to carry and store. | Bulkier; may need partial disassembly according to its instructions. |
Measure the over-the-door option
Measure the door thickness and compare it with the hanger opening. Measure the gap above the door at several points while someone slowly operates it. Check the casing, closer, hinges, stop, handle, adjacent wall, shelves behind the door, and anything the loaded baskets could contact. A rack that fits an open door is not proven until the door closes and latches normally without scraping or force.
Compare basket width, depth, spacing, and rail height with the actual packages you intend to store. Follow the manufacturer's total and per-basket load guidance. Dense jars and cans can create a very different load from packets and boxes. If the door flexes, drops, rubs, or becomes awkward to control, unload the rack and skip the setup rather than modifying the door.
Measure the slim cabinet option
Record width, depth, and height at the intended location, including baseboards and uneven walls. Add the open-door or drawer projection, handle reach, and space needed to remove shelves or clean beside the unit. Measure the route from the building entrance to the kitchen and the space required for assembly.
Tall, narrow furniture may require a manufacturer-specified restraint. “Freestanding” does not necessarily mean “no wall attachment.” Check the instructions and lease before buying. If required anchoring is not permitted, choose a different format whose instructions fit the rental or ask the landlord for written approval. Do not omit required hardware or improvise an attachment.
Capacity, access, and noise
A visible door rack makes small packages easy to scan, but deep or loosely retained items can shift when the door moves. Check rail height, basket spacing, and the instructions for retaining contents. Use padding or bumpers only where supplied or permitted because added material can change clearance.
A cabinet hides visual clutter and may accept larger packages, but deep shelves can make the back hard to reach. Adjustable shelves help only when the pin positions match your package heights. Door hardware can add sound, while a rack may rattle during every door cycle. If noise matters, inspect the operating design and return terms rather than assuming either will be quiet.
Surface compatibility and removal risk
Inspect every contact point before installation. A metal hanger can rub a painted or veneered door, and a loaded rack can bump trim or wall surfaces. Cabinet feet, leveling hardware, or trapped grit can mark flooring. Follow the product and surface-care instructions; do not assume a mark-free move-out.
Photograph the empty location if your lease process allows it, keep all supplied pads and hardware, and inspect contact points during routine cleaning. Stop using either product if you see finish changes, movement, loose fasteners, door misalignment, floor marking, or damage.
Setup, maintenance, and moving
Assemble only as directed, with the named parts and tools. Recheck hardware on the schedule in the instructions. Clean spills promptly using methods compatible with both the product and nearby surfaces. Food storage also needs a rotation routine; visibility and grouping can matter more than squeezing in another package.
Keep the manual and spare parts. Confirm whether the rack breaks down into manageable pieces and whether the cabinet may be disassembled and reassembled. Measure the packed components, building route, elevator, stairs, and future storage spot. A cabinet that cannot clear the next stair turn is poor renter storage.
Who should skip each option?
Skip the over-the-door rack when the door is damaged, misaligned, unusually thick, tight to the casing, fitted with a closer, or needed for emergency or building access; when the rack conflicts with door or property instructions; or when the planned contents exceed verified dimensions or loads.
Skip the slim cabinet when the room lacks its complete operating footprint, the floor cannot support stable placement as instructed, assembly access is poor, the unit would narrow a route, or a required tip restraint is prohibited. Follow all product and property guidance where children, pets, climbing risk, or seismic conditions add concern.
Skip both when the real issue is excess inventory rather than missing storage. A shelf edit, smaller grocery cycle, or better use of existing cabinets may solve the problem without adding furniture or weight to a door.
Bottom line
An over-the-door pantry rack is compact only when the complete loaded door still works normally. A slim pantry cabinet earns its floor space only when access, assembly, stability, and required restraint all fit. Measure the moving parts, check the lease and instructions, plan maintenance and the next move, and let the rental—not a staged product photo—decide.
If you need a full-length view rather than storage, compare door-mounted mirrors for renters by the same door-thickness and closure checks, plus mirror height, lower stabilization, and movement.