How to Choose Door-Mounted Mirrors for Renters
A door-mounted mirror can provide a full-length view without drilling or giving up floor space, but only when the door, hardware, and daily movement all fit. Start with door thickness and top clearance, then compare mirror height, bracket or strap adjustment, lower stabilization, surface contact, and what happens every time the door opens.
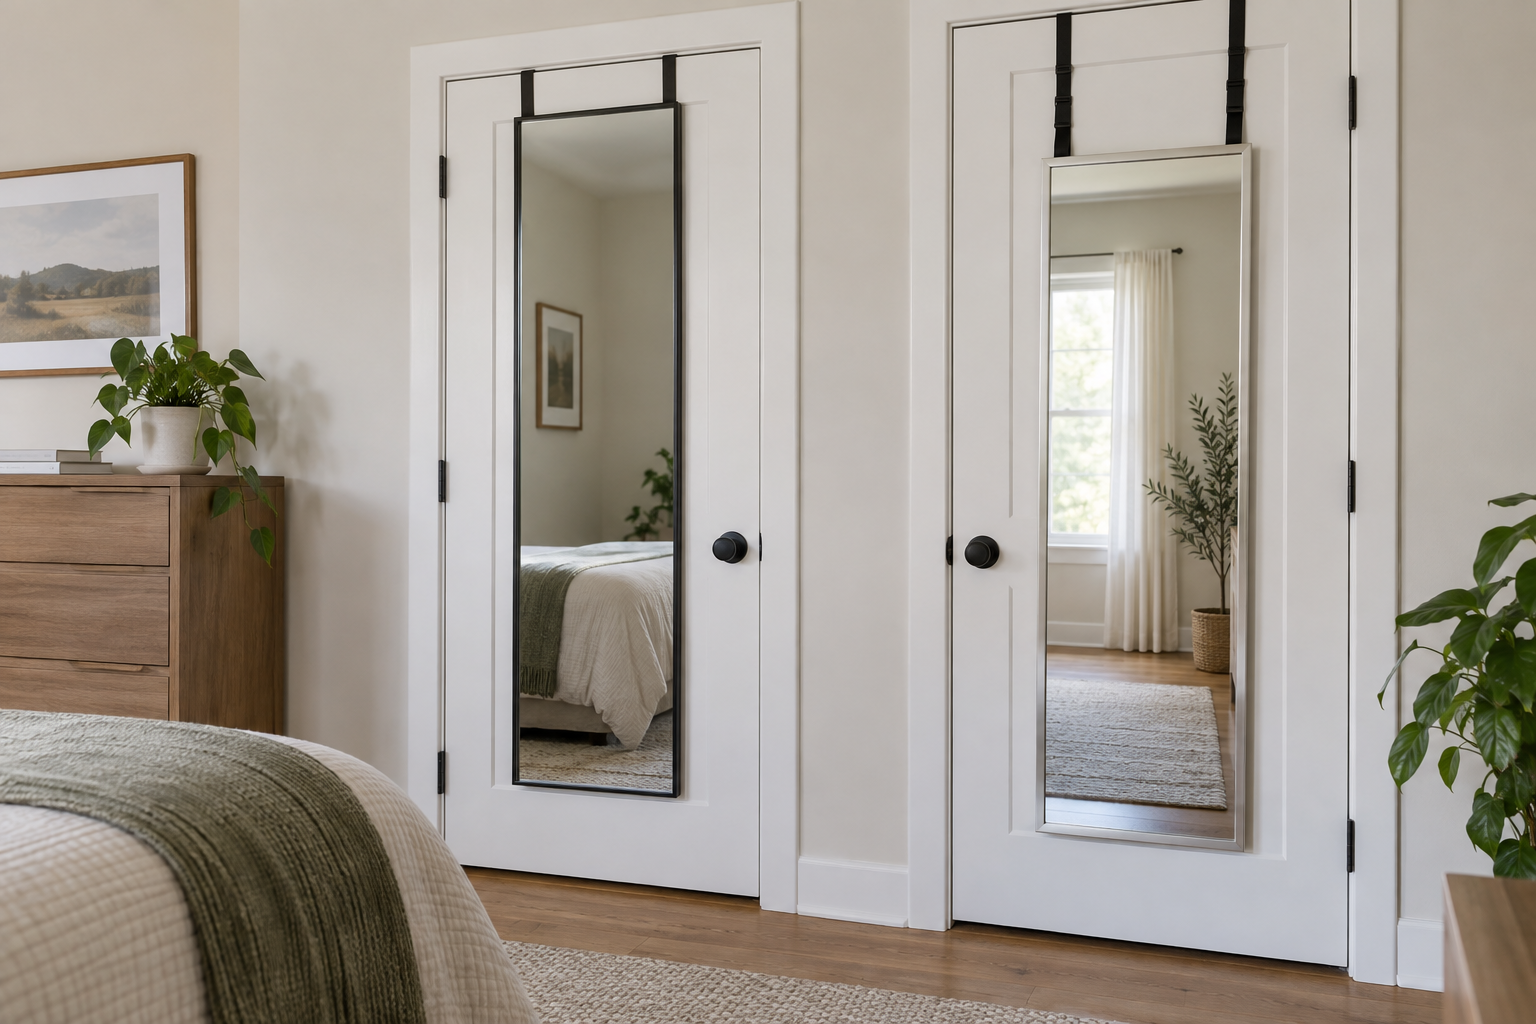
As an Amazon Associate, The Good Home Doc may earn from qualifying purchases.
Quick decision before shopping
First measure the available space, identify the setup or surface constraints, and decide who will maintain the item. Skip the category if it blocks access, conflicts with the manufacturer's instructions or lease, or adds more upkeep than the problem justifies.
Compare only after measuring the complete door setup: Browse category: browse adjustable over-door full-length mirrors.
This is a category search, not a tested ranking. Verify current mirror and hardware dimensions, product weight, compatible door thickness, required clearance, mounting and stabilization instructions, care, and return terms before buying.
“No drill” does not mean no risk. A bracket can scrape paint or trim, a mirror can swing or knock against the door, and added thickness can stop the door from closing normally. Check the lease or property rules before attaching anything, follow the mirror and door instructions, and do not use a door-mounted mirror on a damaged, loose, misaligned, fire-rated, security, exterior, or required-exit door unless the property owner and applicable instructions explicitly allow it.
Quick Best-Fit Guide
- Best simple fit: a lightweight framed mirror with padded brackets sized for the measured door and enough top clearance to close without force.
- Best for height adjustment: a bracket or strap system with documented positions that keeps all hardware flat and secure.
- Best for a frequently used door: a rigid frame with manufacturer-provided lower stabilizers that limit ordinary movement without prohibited adhesive.
- Best when the door fit is uncertain: skip the door mount and use a stable freestanding or landlord-approved wall solution that follows its restraint instructions.
Measure the Door Before the Mirror
Measure the door thickness at an unobstructed top edge and compare it with the bracket opening or the maker's supported range. Then measure the smallest gap between the top of the door and frame while someone slowly moves the door. Check both faces for raised trim, panels, hooks, signs, closers, vents, handles, wall stops, and furniture that could meet the mirror or hardware.
Record door height, mirror width and height, bracket projection, the desired viewing height, and the mirror's lowest edge. Confirm the handle remains reachable and the mirror will not cover a lock, peephole, vent, label, or other required feature. If the door already rubs, drops, or needs force to latch, adding a mirror is the wrong fix.
Compare the Main Mounting Formats
Fixed Over-Door Brackets
Fixed brackets are the simplest format when their opening closely matches the door. They offer fewer adjustment points, but the mirror height is largely set by the frame and hanger geometry.
Compare: bracket opening, metal thickness, padding, mirror height, frame rigidity, hardware assembly, lower contact points, and the exact closure test in the instructions.
Adjustable Over-Door Brackets
Multiple mounting holes or sliding positions can place the mirror at a more useful height. More positions also mean more fasteners and setup checks. Use only the supplied or specified hardware and recheck every connection after adjustment.
Compare: adjustment range, hole spacing, fastener type, protruding hardware, door clearance at every selected position, and whether unused hardware can touch the finish.
Strap-Mounted Mirrors
Straps can provide more vertical range and may spread contact differently from rigid hangers. They still need a compatible top path and a secure attachment to the mirror. Fabric or coated straps can collect dust, twist, stretch, or interfere with the frame if installed incorrectly.
Compare: strap material and width, adjustment hardware, stated door compatibility, how the strap connects to the mirror, twist prevention, care, and inspection instructions.
Must-Have Selection Criteria
- Documented door fit: The bracket opening or strap path matches the measured door rather than relying on a “universal” label.
- Normal closure: The loaded door closes and latches without scraping, force, or altered alignment.
- Protected contact points: Every place touching the door has intact maker-provided padding or another explicitly approved protector.
- Lower stabilization: The product includes an instructed way to limit swing or tapping that is compatible with the door and rental rules.
- Useful view: Mirror dimensions and hanging height suit the intended user without creating a door-handle or floor conflict.
- Manageable weight: Product weight and all use restrictions fit the door and mounting instructions; never guess what a door can support.
Setup, Noise, and Daily Use
Assemble the mirror on a protected floor according to its instructions, ideally with help if the size or weight is awkward. Inspect the mirror, frame, hangers, straps, fasteners, and pads before lifting it. Set the initial height, hang it without dragging hardware over the finish, and install every required stabilizer.
Slowly open, close, and latch the door while watching the top edge, frame, handle, wall, and bottom of the mirror. Stop if anything scrapes, shifts, flexes, rattles excessively, or prevents normal operation. A soft click from moving hardware may be tolerable in a closet; repeated knocking on a bedroom door can make a seemingly compact product a poor fit.
Keep children, pets, and rough door use in mind. A door that is slammed, used as a play surface, or located in a busy route is a weak candidate. Do not improvise anchors, cords, or adhesive patches when the supplied system does not remain stable.
Removal, Storage, and Moving
Photograph the door condition before setup if that helps with your rental records. At removal, support the mirror while lifting the brackets or releasing the straps; do not pull the frame against the painted surface. Clean the door only with methods approved for its finish, and report damage rather than concealing it.
For a move, keep the maker's packaging or protect the glass and corners as instructed. Store fasteners and brackets together, keep pressure off the mirror face, and do not place a large mirror loose in a vehicle. If the product cannot be carried or stored safely in the next home, its portability advantage is mostly theoretical.
Maintenance Checks
Clean the glass with a method approved by the manufacturer, applying liquid to a cloth rather than letting it run into the frame or onto the door. Periodically inspect bracket padding, strap condition, fasteners, frame joints, lower stabilizers, door paint, hinge alignment, and clearance. Remove the mirror immediately if the glass chips or cracks, hardware bends or loosens, straps fray, or the door begins rubbing or sagging.
Who Should Skip a Door-Mounted Mirror
- Skip it when the lease or property rules prohibit door attachments or adhesive stabilizers.
- Skip it on damaged, loose, misaligned, glass, exterior, fire-rated, security, or required-exit doors unless the responsible property party and product instructions specifically approve the setup.
- Skip it when the door has a closer, tight top gap, raised trim conflict, limited swing, or a wall or fixture within the mirror's path.
- Skip it in a high-traffic household where slamming, climbing, grabbing, or repeated impacts are realistic.
- Skip it when you cannot safely lift, install, inspect, remove, or transport a full-length mirror.
- Skip it when a smaller tabletop mirror already solves the actual grooming task.
Bottom Line
The best door-mounted mirror for a renter is not the one with the biggest glass; it is the one whose documented hardware fits the measured door, clears the frame, stays controlled during normal movement, protects contact points, and can be removed and transported realistically. Fixed brackets suit a straightforward fit, adjustable brackets help with viewing height, and straps add range when their path and attachment are clearly supported. If the door cannot keep working normally, choose another mirror format.