Is a Countertop Compost Bin Worth It for a Small Kitchen?
A countertop compost bin is worth it when you already have a real place to take accepted food scraps, cook often enough to collect them, and can empty and wash a small container on a predictable schedule. Skip it when there is no usable compost route, counter space is tighter than freezer space, or scraps would sit indoors longer than you are willing to manage.
As an Amazon Associate, The Good Home Doc may earn from qualifying purchases.
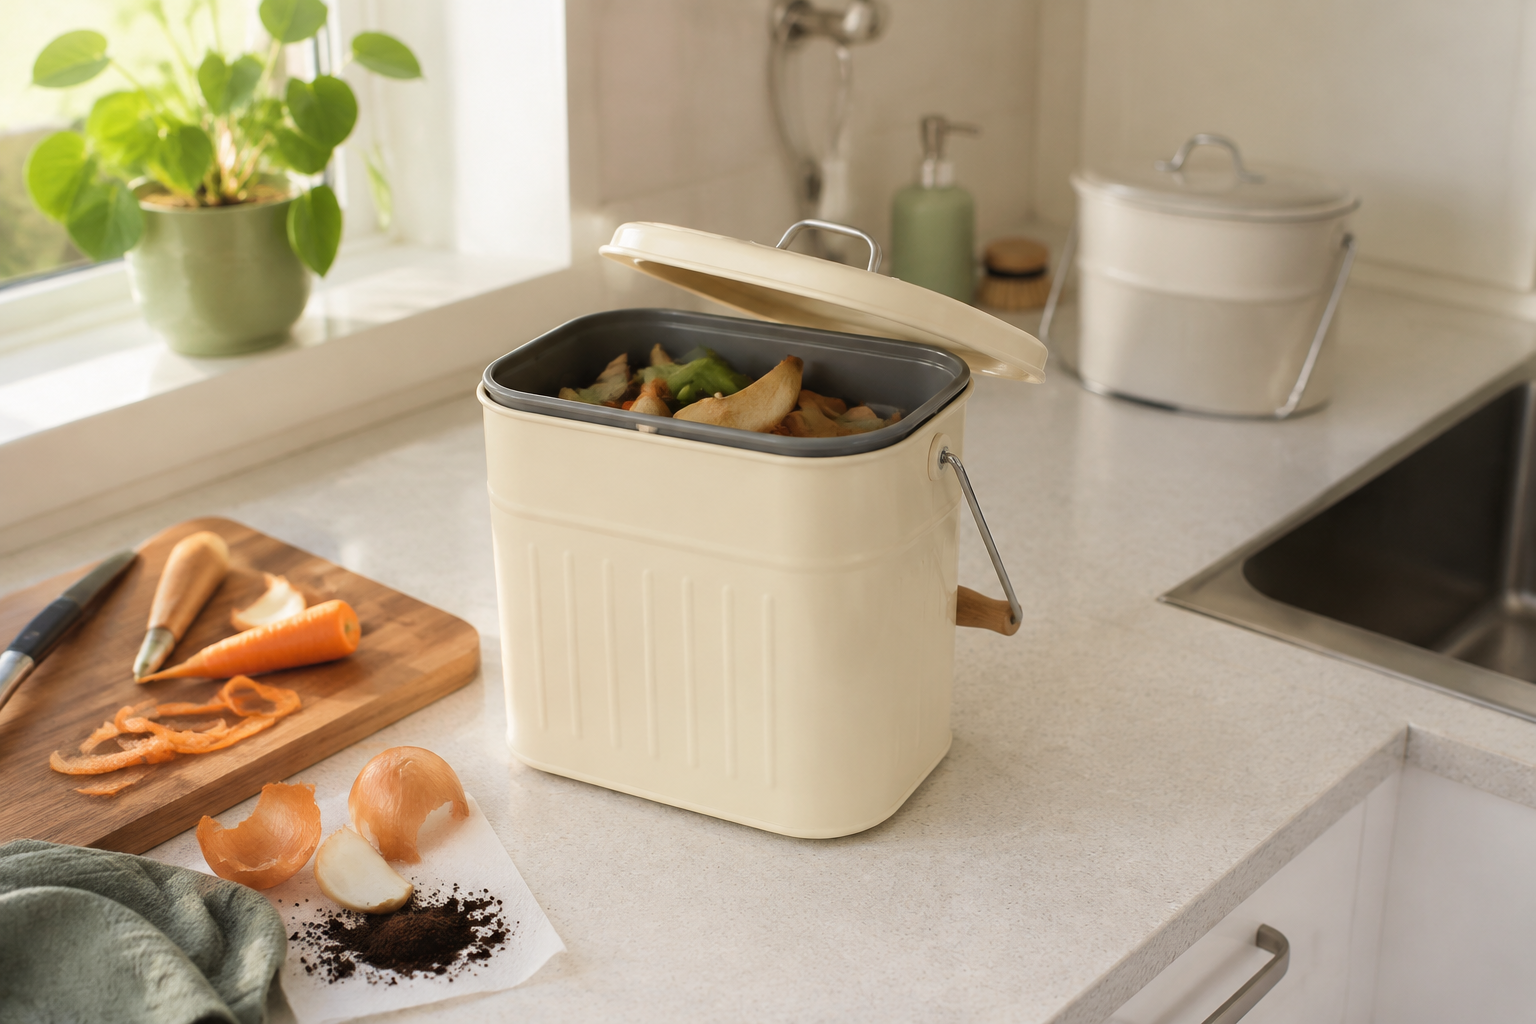
Quick decision before shopping
First measure the available space, identify the setup or surface constraints, and decide who will maintain the item. Skip the category if it blocks access, conflicts with the manufacturer's instructions or lease, or adds more upkeep than the problem justifies.
Confirm the destination and routine before shopping: This affiliate category link is a comparison starting point, not a tested winner.
- Browse category: Compare small countertop compost bins with lidsCheck closed and open dimensions, carrying method, smooth interior, removable parts, liner and filter requirements, and maker care instructions.
A container does not compost scraps on the counter. It only holds them temporarily before they move to a municipal collection, building bin, community drop-off, backyard system, or another destination that accepts those materials. Check that destination's current rules before deciding what belongs in the bin or which liners are allowed.
Quick answer
Buy one when the collection route is established, the bin will save repeated trips during meal prep, and a measured counter spot plus a frequent emptying habit make it easy to maintain.
Try a container you already own first when you are unsure about volume or routine. A bowl emptied immediately or a clearly labeled, freezer-safe container can reveal whether a dedicated bin would help.
Skip it when scraps are not accepted locally, you need the entire counter for preparation, or no one in the household will reliably empty and clean it.
Start with the compost route
Write down where the scraps will go, which materials that destination accepts, how you will transport them, and how often you can make the trip. Rules can differ for meat, dairy, compostable bags, paper products, and food-soiled packaging. A countertop pail cannot solve an uncertain destination.
Apartment residents should also check building rules and the collection-bin location. If carrying a dripping inner bucket through a hallway is the weak point, a secure transport container may matter more than the countertop pail itself.
Run a seven-day scrap test
For one normal week, collect accepted prep scraps in a bowl that leaves the kitchen after each cooking session or in another suitable temporary container. Note how many times you cook, how quickly scraps accumulate, and when you would realistically empty them.
This test distinguishes a repeated workflow from an imagined one. A household that trims vegetables every evening may benefit from an easy-open pail. Someone who produces a small handful of scraps twice a week may be better served by a freezer container or a direct trip outside.
Measure the bin open, not just closed
Measure the available width and depth without taking over the main cutting zone, crowding the sink, blocking an outlet, or placing the bin near a cooktop. Then measure height with the lid fully open beneath upper cabinets. Leave enough room to scrape a cutting board into the opening without spilling around it.
Also plan the route to the sink or dishwasher for cleaning and to the final collection point for emptying. A small bin that is awkward to lift, catches on cabinet doors, or has nowhere to dry can create more work than it removes.
Capacity should match emptying frequency
Larger capacity means fewer trips but more counter space and more time for wet scraps to remain indoors. Choose around the shortest schedule your household can keep, not the longest interval a product photo suggests. During warm periods or after collecting especially wet scraps, you may need to empty sooner.
A tight-fitting lid can contain the view and reduce casual access, but do not treat any lid, charcoal filter, or marketing phrase as a guarantee against odors or pests. Frequent emptying, prompt cleanup, and an appropriate final destination still do the important work.
Cleaning is part of every use
Smooth interiors and removable buckets usually simplify rinsing. Hinges, lid channels, filter housings, and liner-retaining rims add surfaces where residue can collect. Read the maker's care instructions before assuming a part can go in the dishwasher; heat and detergent limits vary by material and product.
Let all washed parts dry as directed before reassembly. Replace filters only on the schedule and by the method the manufacturer gives. If the routine already feels excessive, a simpler bowl or freezer-safe container may be the better fit.
Liners and filters are recurring decisions
Confirm whether your receiving program accepts liners at all and, if so, which certifications or materials it requires. A package labeled “compostable” may still be rejected by a particular local facility. If the program requires scraps loose, choose a bin you are comfortable washing often.
Filters add replacement cost and storage. They may help with ordinary smells when maintained as directed, but they do not make old scraps consequence-free. Compare the ongoing supply routine with the simpler option of a plain washable lid and more frequent emptying.
Countertop bin versus freezer storage
| Decision point | Countertop bin | Freezer-safe container |
|---|---|---|
| Best fit | Frequent prep and convenient emptying | Less frequent drop-off and available freezer room |
| Space used | Permanent or daily counter footprint | Freezer shelf or drawer space |
| Daily access | Fast during cooking | Requires opening the freezer |
| Care | Frequent emptying, washing, and lid care | Suitable container care and clear labeling |
| Main limitation | Indoor holding time and counter crowding | Freezer capacity and carrying frozen scraps |
Use only a container suitable for freezer use, label it clearly, and follow the receiving program's rules. Freezing is a storage choice, not proof that every scrap is accepted.
Must-haves versus nice-to-haves
Must-haves: a verified compost destination, measured open and closed footprint, a manageable carrying method, a smooth washable interior, clear care instructions, and a realistic emptying schedule.
Nice-to-haves: a removable bucket, one-handed lid, liner-retaining rim, or replaceable filter. Each extra part should solve a problem you observed during the trial rather than add another maintenance task.
Who should skip a countertop compost bin?
- Households without a confirmed program, drop-off, or home system that accepts their scraps.
- Very small kitchens where the bin would displace the primary prep area or block normal access.
- People who cook infrequently and can move scraps directly after each meal.
- Anyone who prefers to use available freezer space and make less frequent drop-off trips.
- Households unable to keep the container inaccessible to pets or young children.
- Anyone expecting a filter or lid to eliminate all odor, insects, leakage, or cleaning.
Bottom line
A countertop compost bin earns its space only when it connects cooking to a compost route you already use. Test one week of accepted scraps, measure the open lid and carrying route, and decide how often you will empty and wash it. If those details are easy, a compact, simple pail can reduce meal-prep friction. If they are not, use a bowl for immediate trips, a suitable freezer container, or no dedicated countertop product.
Next step: Put this decision in context with the home-product buying framework guide.