Flexible small-living-room surfaces
How to Choose Nesting Tables for Flexible Small Living Rooms
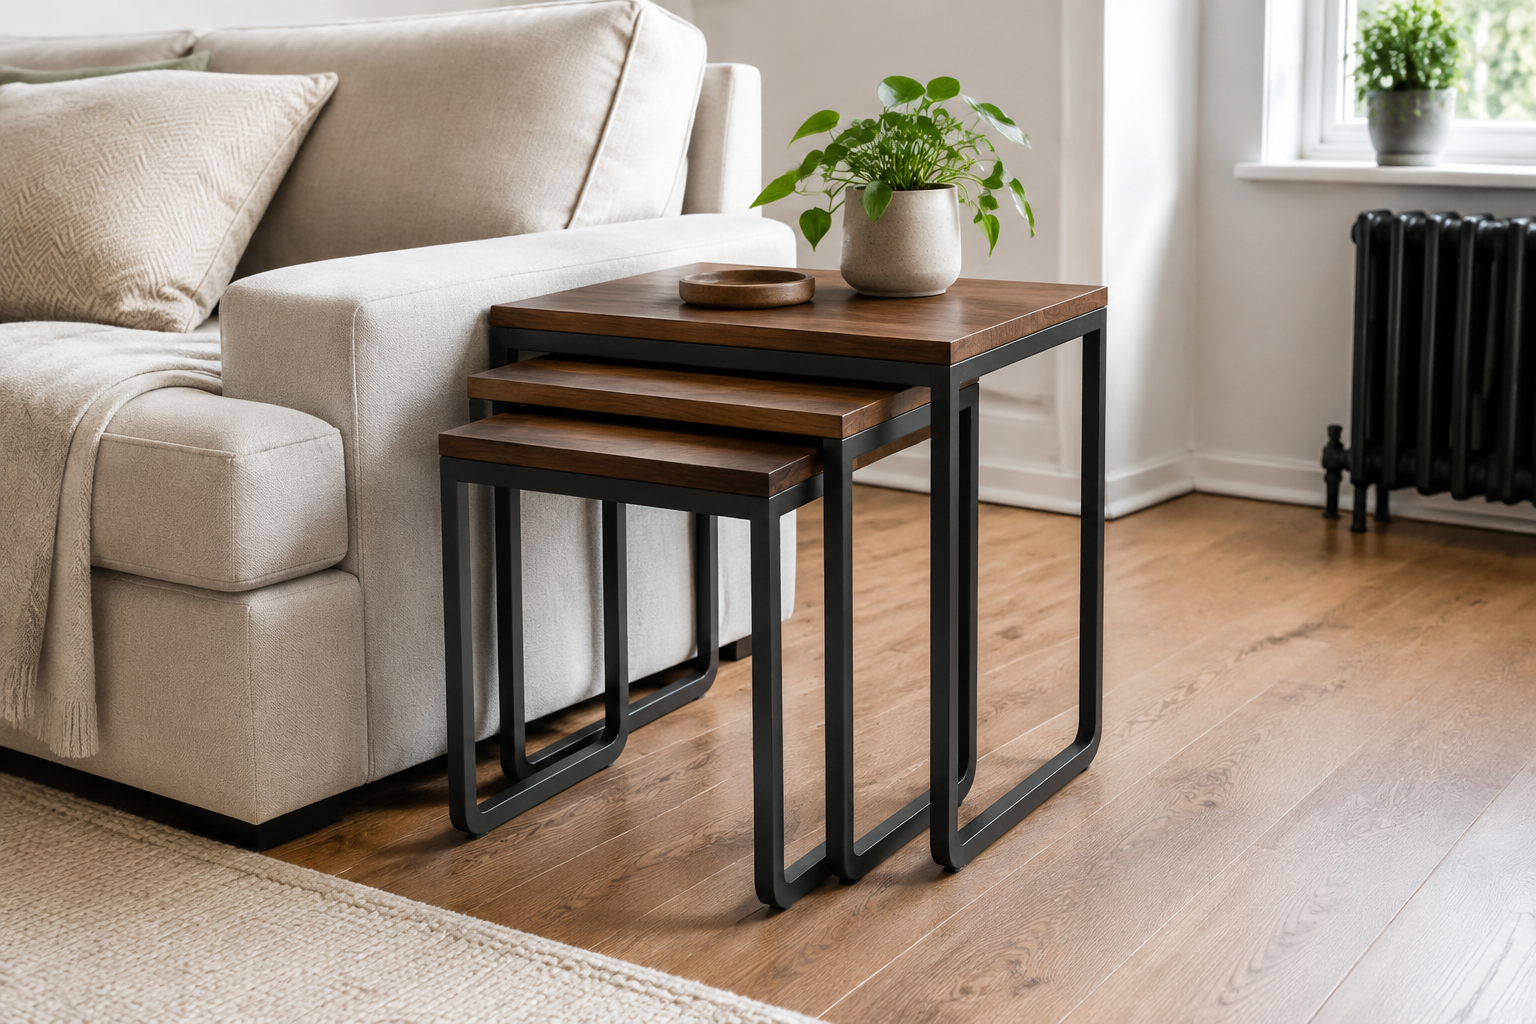
Nesting tables make sense when one compact parked footprint can become two or three useful surfaces for guests, hobbies, or an occasional meal. The best set is not simply the smallest: every table must slide together cleanly, stand securely on its own, fit the open room layout, and be easy enough to move that you will actually use it.
As an Amazon Associate, The Good Home Doc may earn from qualifying purchases.
Quick decision before shopping
First measure the available space, identify the setup or surface constraints, and decide who will maintain the item. Skip the category if it blocks access, conflicts with the manufacturer's instructions or lease, or adds more upkeep than the problem justifies.
Compare the set in its stored and deployed layouts:
- Browse category: Compare two-piece nesting table setsA simpler choice when you need one everyday table plus one occasional surface.
- Browse category: Compare three-piece nesting table setsMore flexible for guests, provided all three deployed footprints fit without crowding the room.
These are category searches, not tested rankings. Verify current individual and nested dimensions, stated loads, materials, assembly, floor-contact parts, care instructions, and return terms for the exact set.
This guide compares formats and fit criteria without naming winners or claiming hands-on testing. Photos do not establish stability, capacity, or durability. Use current dimensions, stated loads, warnings, and assembly instructions from the maker for the exact set you are considering.
Quick best-fit guide
- For one daily surface plus occasional help: start with a two-table set; fewer pieces are easier to park and keep track of.
- For guests or flexible activities: a three-table set offers more separate surfaces, but only if the room accommodates all three at once.
- For frequent movement: prioritize documented product weight, a secure handhold, rounded edges, and a route without rug snags.
- For drinks: favor a level, wipeable top with clear care guidance rather than assuming a finish tolerates moisture or heat.
- For a permanently tight route: skip added furniture and use a fixed narrow table or another allowed space-saving surface.
Measure two footprints, not one
Record the complete width, depth, and height of the nested set. Include feet, leg curves, braces, and any part that projects beyond the top. Mark that stored footprint with removable tape beside the sofa, then walk the normal route and open nearby doors, recliners, drawers, and storage furniture.
Next, tape the footprint of every table where you would actually deploy it. Leave room to sit down, stand up, and pass without stepping around table legs. A set that looks tiny when nested can occupy more floor than a single coffee table once all pieces are separated.
Check whether the tables truly nest
Compare the underside clearance of the larger table with the complete height and leg position of the next table. Repeat for the smallest piece. Crossbars, angled legs, thick top aprons, and floor glides can reduce insertion depth even when listed widths appear compatible.
Look for diagrams showing the intended nested orientation, then confirm it in the instructions. Tables that overlap only halfway may still work, but their parked depth and projecting corners must fit. Do not assume pieces from different sets will nest safely.
Choose the number and shape
Two-piece sets
Two tables suit a simple routine: one can remain beside a sofa while the second comes out for a guest or activity. There is less furniture to move and fewer legs to fit into the stored geometry.
Three-piece sets
Three surfaces can support several seats or tasks, and the smallest table may fit a tight spot. The tradeoff is more handling, a larger deployed layout, and a greater chance that the smallest piece becomes unused clutter.
Round or curved tops
Curved tops soften projecting corners and can be easier to move around in some layouts. Their usable surface may be smaller than the overall width suggests, and curved frames still need stability and nesting checks.
Rectangular or square tops
Straight edges can sit neatly beside a sofa or wall and offer predictable usable dimensions. Pay attention to exposed corners and whether the leg geometry catches on a rug.
Must-have buying checks
- Individual and nested dimensions: both are needed to test the real layouts.
- Stated load for each table: the smallest piece may have a different limit; never infer capacity from the largest.
- Usable top area: compare the flat surface inside any rim, handle opening, bevel, or decorative edge.
- Stable leg geometry: review the stance, braces, fasteners, floor contact, and placement instructions for each piece on its own.
- Manageable product weight: check each piece, not only the shipping package, if regular movement is part of the plan.
- Clear finish care: verify instructions for moisture, heat, cleaners, scratches, and spills.
Nice-to-have features
Floor glides suited to the room can reduce scraping when the tables are lifted and repositioned. Adjustable feet may help with minor floor variation when included. A small clearance between nested tops makes pieces easier to separate without pinched fingers or rubbing finishes. Clearly labeled hardware can simplify assembly, but final joints still need tightening in the specified sequence.
Setup and everyday use
- Inventory the parts and read the complete assembly sequence before tightening anything.
- Build on a protected, level surface using the specified hardware and tools.
- Place each table separately and check that all feet contact the floor as intended.
- Practice nesting and separating the empty tables using a secure grip; lift them if the maker does not permit sliding.
- Add ordinary items without exceeding the stated load or letting them project into the walking path.
Keep hot, wet, sharp, or abrasive items off the tops unless care instructions permit them with suitable protection. Recheck fasteners as directed, and stop using a table if it rocks, a joint loosens, a top cracks, or a foot is damaged.
Who should skip nesting tables?
- Skip the set if the open layout blocks a doorway, main path, vent, heater, or recliner movement.
- Skip it if smaller pieces are too low or too light for the intended routine under the maker's guidance.
- Skip a multi-piece set if moving and restacking furniture will be more work than leaving one table in place.
- Skip delicate finishes when the home needs a forgiving, easy-clean surface and care instructions are restrictive.
- Skip the category if you need closed storage, a steady work desk, seating, or another use the tables are not designed and rated to provide.
Bottom line
The best nesting tables earn their place twice: they park compactly without snagging the room, and every separate table provides a stable, useful surface when the set opens up. Measure both arrangements, verify nesting clearance and per-table loads, and choose only as many pieces as your real routine needs.