How to Choose Furniture Touch-Up Markers for Minor Finish Scratches
A furniture touch-up marker can make a small, shallow finish mark less distracting, but it cannot restore missing material or guarantee a perfect color match. The useful choice is a compatible marker you can test, apply in controlled layers, and remove or correct only as its instructions allow.
As an Amazon Associate, The Good Home Doc may earn from qualifying purchases.
Quick decision before shopping
First measure the available space, identify the setup or surface constraints, and decide who will maintain the item. Skip the category if it blocks access, conflicts with the manufacturer's instructions or lease, or adds more upkeep than the problem justifies.
Compare color range, tip control, and labeled surface compatibility: Browse category: browse furniture touch-up marker sets.
This is a category search, not a tested ranking. Verify the current label, supported surfaces and finishes, color-testing directions, application and drying instructions, ventilation or skin-contact warnings, storage, cleanup, and return terms before buying.
Start by identifying both the furniture material and the type of damage. A marker is a cosmetic colorant, not a filler, structural repair, protective topcoat, or universal wood treatment. If the mark catches a fingernail, exposes crushed fibers, crosses a loose joint, feels soft or swollen, or sits on peeling veneer, the problem is larger than a simple color touch-up.
Quick Best-Fit Guide
- Small exposed line on a known compatible brown finish: start with a fine-tip marker and a set containing nearby tones so you can test the lightest plausible shade first.
- Short mark with uneven width: a dual-tip marker may offer more control, but only if both tips are covered by the same surface and application instructions.
- Several ordinary furniture finishes in one home: a wider color range can be useful, provided every color is individually identifiable and the caps seal securely.
- Unknown finish, valuable furniture, or an obvious focal surface: skip the marker until the furniture maker, a conservator, or a qualified furniture-repair specialist advises on the finish.
- Deep gouge, chipped veneer, water damage, loose joint, or broken part: a marker is the wrong category; seek repair guidance instead of coloring over the evidence.
Confirm the Surface Before Comparing Colors
“Wood furniture” can describe solid wood, veneer, laminate, printed foil, painted material, or a composite core beneath a decorative surface. Finishes can also differ: stain, lacquer, varnish, oil, wax, paint, and factory coatings do not respond the same way. Buy only when the marker label explicitly supports the surface and finish you have.
Check the furniture maker's care guidance first. Avoid assuming that a “wood tone” label means the ink is appropriate for every wood-like surface. If the material or finish is unknown, do not experiment on the visible face. Rental furniture, antiques, heirlooms, and pieces under a warranty or service agreement deserve extra caution and permission where applicable.
Compare the Main Marker Formats
Fine-Tip Markers
A narrow tip helps keep color inside a thin scratch and reduces the amount deposited in one pass. It suits short, superficial lines better than broad worn patches. Compare the tip shape, cap seal, priming directions, and whether the ink flow is controllable without repeated pressing.
Skip when: the damage is wider than the tip, the surface texture makes the point snag, or the instructions do not cover the finish.
Broad- or Chisel-Tip Markers
A broader edge can cover a wider cosmetic scuff with fewer strokes, but it also makes it easier to color beyond the damaged area. A chisel tip offers a narrow edge and a wider face only when the user can hold a stable angle.
Skip when: the scratch is hairline, the surrounding finish is pale or translucent, or a broad stroke would overlap intact material.
Dual-Tip Markers
Two tip sizes can reduce the number of tools needed for mixed-width marks. Check whether both ends contain the same color, how each cap identifies its side, and whether storage orientation matters. More tips are not helpful if the caps are easy to mix up or one end dries before it is used.
Skip when: the set lacks clear instructions for priming, recapping, and storing both ends.
Marker-and-Filler Sets
Some kits combine markers with waxy filler sticks or crayons. Treat those as two different product types with separate compatibility and application requirements. A filler may change sheen or texture and can complicate later refinishing.
Skip when: the damage needs material replacement but the furniture construction, finish, or later repair path is uncertain. Do not infer that a bundled filler makes a deep gouge a simple DIY job.
Must-Have Selection Criteria
- Explicit compatibility: the label names the kinds of surfaces or finishes the marker is intended to touch.
- A usable testing method: directions support testing in a hidden area and explain when to evaluate the dried color.
- Controlled tip size: the point matches the narrowest part of the mark instead of forcing a wide application.
- Identifiable colors: caps or barrels make nearby shades easy to distinguish without relying on the wet ink alone.
- Complete use instructions: preparation, application, drying, layering, cleanup, recapping, storage, and warnings are clear.
- A realistic range: the set includes neighboring tones you are likely to test, not simply the largest color count.
Nice-to-Have Features
- Replaceable or separately available colors: useful when one shade is used more often than the rest.
- A printed color key: helpful for returning each marker to the right place after testing.
- A fitted case: keeps caps from being knocked loose and makes the specified storage orientation easier to maintain.
- Two controlled tip widths: worthwhile only when both serve marks you actually have.
Use a Test Board and Hidden Area
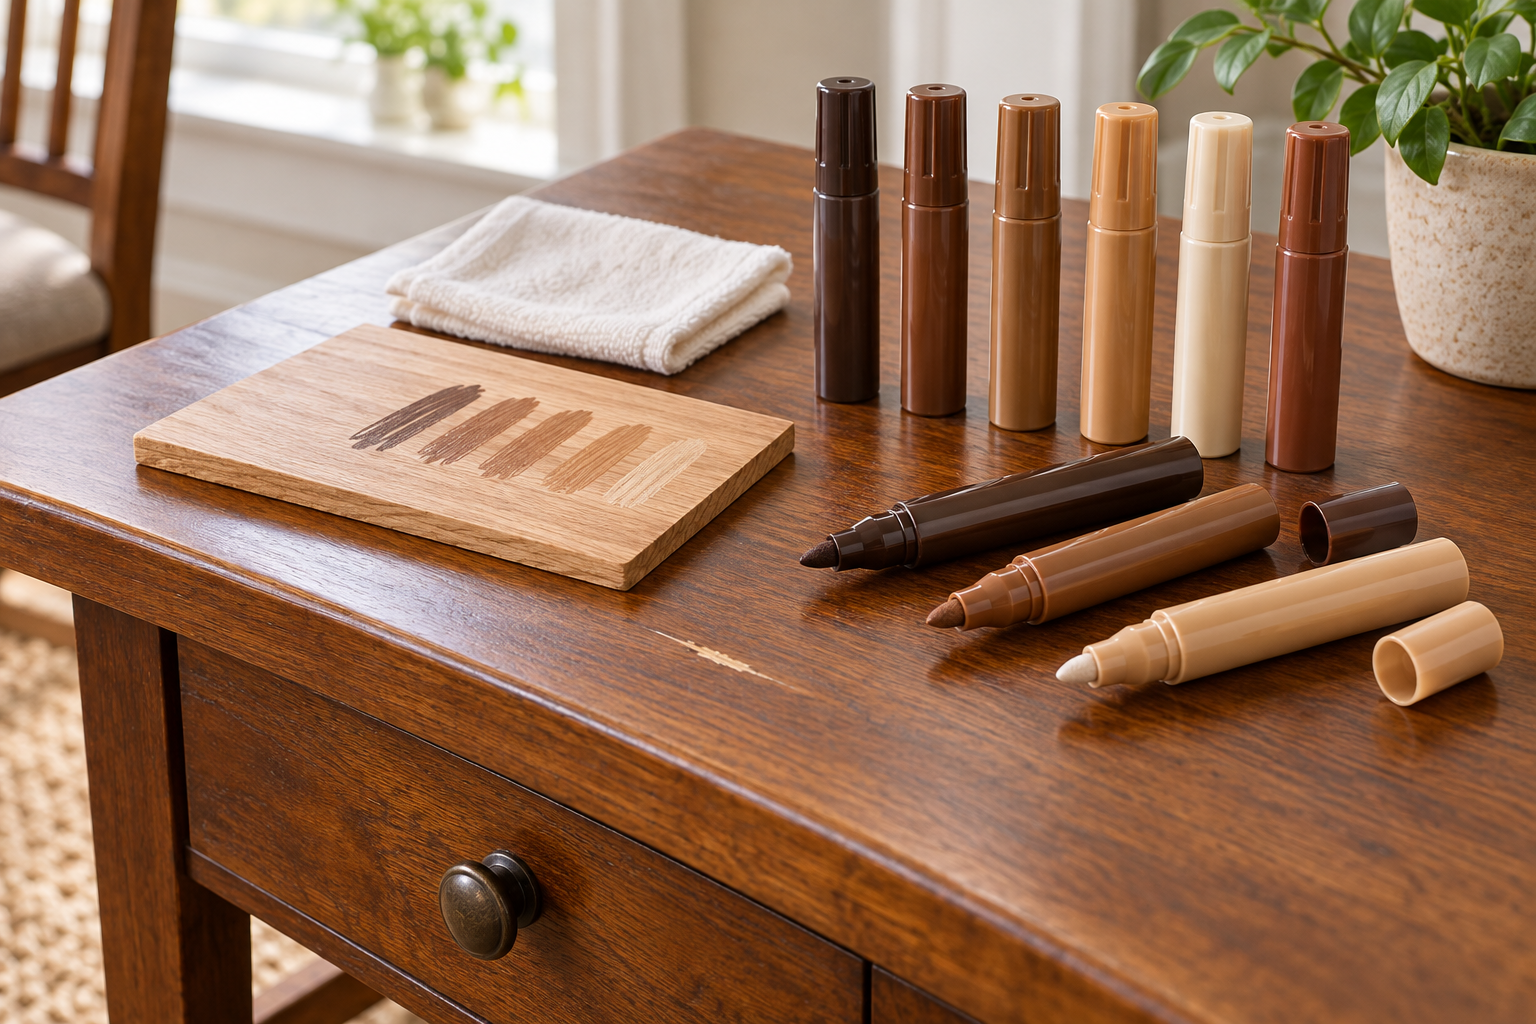
A scrap board can show the marker's general undertone, but it cannot predict the result on a different species, stain, grain pattern, or topcoat. Use it to eliminate obviously wrong colors, then follow the product and furniture guidance for a small hidden-area test. Let the test reach the stated evaluation or drying point before judging it.
Begin with the lightest plausible tone because adding a controlled layer may be possible while removing excess color may not be. Do not invent a solvent or scrub the surface to correct a mistake. Use only the cleanup method approved for both the marker and furniture finish.
Application, Drying, and Ventilation
Work in the ventilation conditions stated on the label and keep the area away from children, pets, food preparation, flames, and heat sources as directed. Protect nearby flooring or fabric with a compatible disposable barrier, but do not tape directly to a finish unless the furniture maker permits it.
Clean the furniture only by its approved care method and let it dry fully. Apply a short, light stroke within the mark, following grain direction where the instructions support that technique. Respect the stated drying time before adding another layer, touching the area, placing objects on it, or returning the piece to normal use.
Color, grain, and sheen all affect visibility. Even a close hue may stand out when the repaired line is glossier or duller than the surrounding finish. Stop when another pass would enlarge the colored area merely to chase an invisible result.
Storage and Maintenance
Recap each marker immediately and store it in the orientation and temperature range on the label. Keep the set in its original case or another clearly identified container, away from children, pets, food, heat, and direct sun. Do not keep an unlabeled loose marker after its instructions and warnings have been separated from it.
Before reuse, inspect the barrel, tip, and cap. Discard or handle a leaking, cracked, dried, or contaminated marker according to its label and local disposal guidance. Never thin or refill it with an unapproved substance.
Who Should Skip Furniture Touch-Up Markers
- Skip them for deep gouges, missing veneer, swelling, water damage, loose joints, broken parts, or any structural problem.
- Skip them on valuable, antique, collectible, or warranty-sensitive furniture without appropriate specialist or manufacturer guidance.
- Skip them when the substrate or finish is unknown, unsupported, flaking, soft, sticky, or already reacting to ordinary care.
- Skip them when exact color and sheen matching is essential; a marker cannot reproduce grain or guarantee an invisible repair.
- Skip them for floors, countertops, cutting surfaces, children's mouthable items, or food-contact areas unless the exact product explicitly permits that use.
- Skip DIY application when required ventilation, protective measures, drying isolation, or safe storage cannot be provided.
Bottom Line
For a shallow cosmetic line on compatible ordinary furniture, choose the smallest controllable tip and a set with a few nearby tones, clear hidden-area testing directions, and complete drying and storage instructions. Test light, work in restrained layers, and accept that “less noticeable” is a realistic goal. When the finish is unknown, the piece is valuable, or the damage has depth, movement, moisture, or missing material, stop shopping for markers and use an appropriate repair path.