How to Choose Clip-On Pot Strainers for Small Kitchens
A clip-on pot strainer can replace a bulky colander for modest batches, but only when the clip, rim, draining surface, and loaded-pot handling all fit together. Start with the saucepans you actually use. The best format is not the smallest or most flexible one; it is the one whose current instructions document a secure fit and a draining routine you can control.
As an Amazon Associate, The Good Home Doc may earn from qualifying purchases.
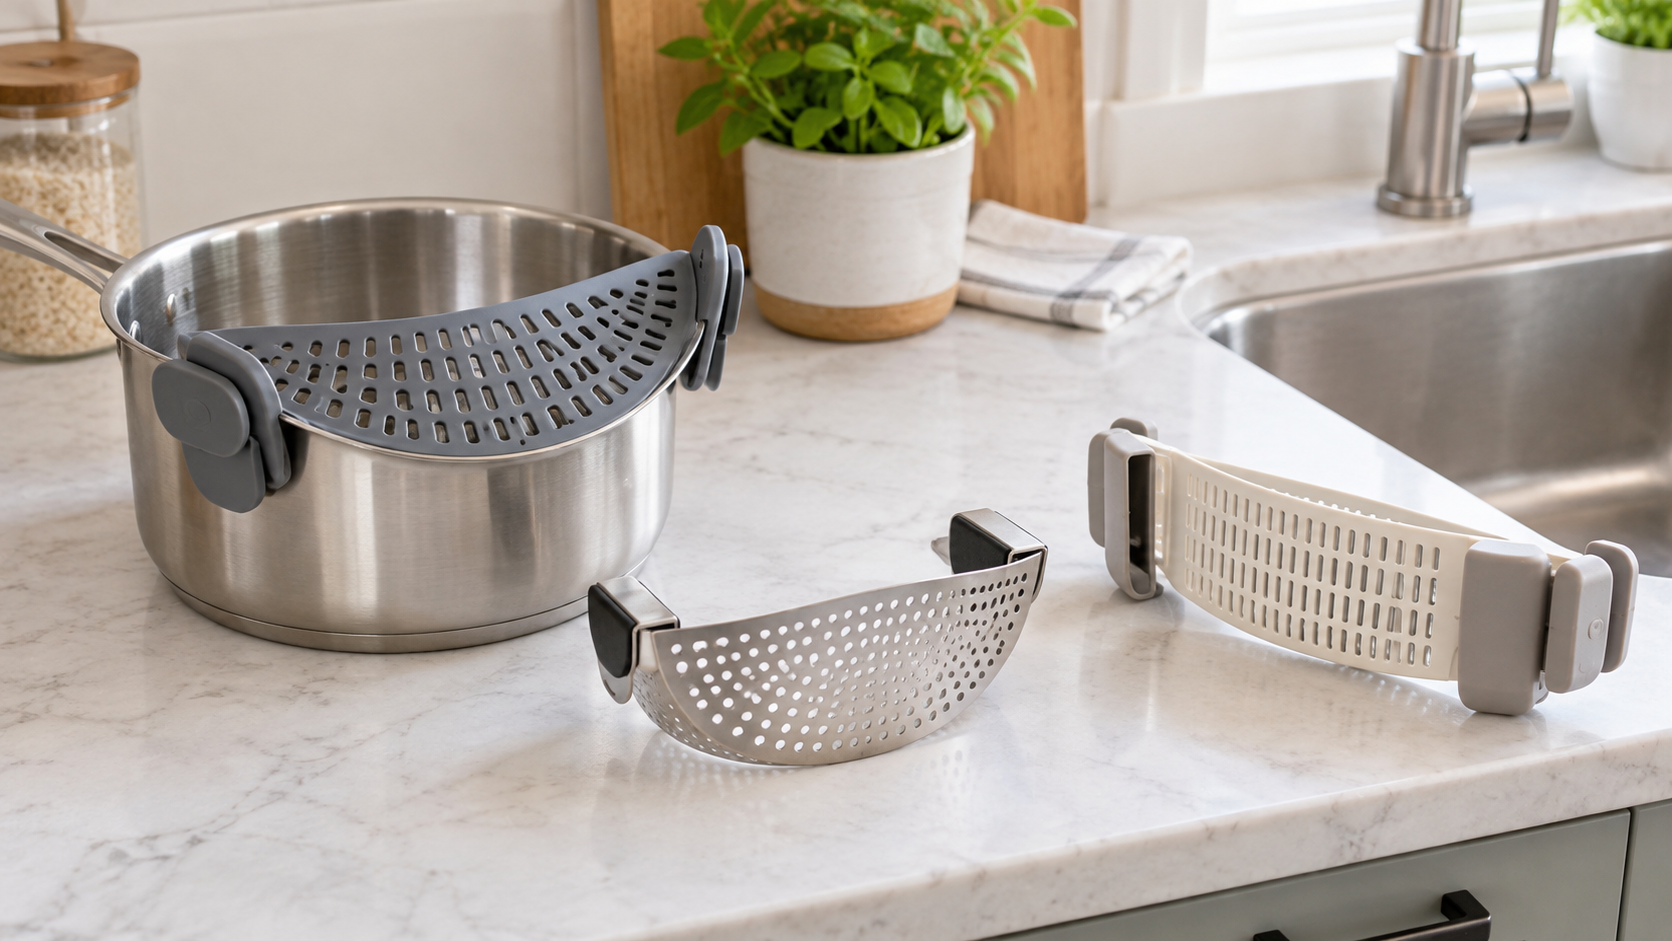
Quick decision before shopping
First measure the available space, identify the setup or surface constraints, and decide who will maintain the item. Skip the category if it blocks access, conflicts with the manufacturer's instructions or lease, or adds more upkeep than the problem justifies.
Compare the clip and pot fit before extra features: These affiliate category links are shopping starting points, not tested rankings.
- Browse category: Compare flexible silicone clip-on strainersCheck the documented pot range, rim shapes, clip placement, material limits, drain area, and care.
- Browse category: Compare rigid metal clip-on strainersCheck the complete attachment, finished edges, supported cookware, opening size, cleaning access, and storage.
- Browse category: Compare adjustable pot-edge strainersVerify how adjustment works, which diameters and rims are included, and whether every contact point stays accessible for cleaning.
Confirm the exact maker's compatibility, material and temperature instructions, attachment steps, food-contact guidance, cleaning, inspection, and warnings. A broad “universal fit” label is not a substitute for documented dimensions.
Quick picks by format
| Format | Best fit | Main check | Reason to skip |
|---|---|---|---|
| Flexible crescent | One or two compatible pot sizes and compact drawer storage | Documented rim range, clip geometry, and material limits | The flexible body twists, blocks a handle, or leaves too little draining area |
| Rigid perforated | Cooks who prefer a firm draining edge and open cleaning access | Exact rim contact, edge finish, and cookware compatibility | The fixed curve does not match the pot or makes storage awkward |
| Adjustable | Several cookware sizes covered by one documented system | Adjustment range, locking method, contact points, and care | More joints create confusing setup or residue traps |
Measure the cookware first
List the pots you would actually drain, then measure the outside diameter at the rim. Note rim thickness and shape, wall curvature, spouts, helper handles, and whether the main handle leaves enough room for the clips. Compare those observations with the strainer maker's current fit information. “Fits most pots” does not tell you whether it fits a rolled rim, pouring lip, squared edge, or unusually thick wall.
A small strainer that fits one saucepan well can be more useful than an adjustable model that fits several poorly. If the attachment overlaps a handle, sits crooked, lifts under light pressure, or requires stretching beyond the stated range, choose another format. Do not reshape or force a clip to rescue a mismatch.
Compare attachment styles
Flexible clips
Flexible silicone-style bodies often use two broad clips and fold into shallow storage. Check how far the clips open, how they contact the rim, and whether the body stays centered without covering the place your hands need to control the pot. Flexibility can help with storage, but it does not establish compatibility or a secure attachment.
Rigid clips
A rigid strainer can provide a more defined draining edge and may be easier to inspect for trapped residue. Its curve is less forgiving, so pot diameter and rim profile matter. Check all finished edges and contact surfaces; avoid any model whose current documentation does not identify suitable cookware or explain attachment and removal.
Adjustable attachments
An adjustable model may cover a wider documented range, but every slider, hinge, latch, or moving contact adds a setup and cleaning step. Choose it only if the adjustment is clear, stays in its intended position, and can be opened or removed for cleaning exactly as directed.
Match the holes to the food
Drain openings should retain the foods you commonly cook while providing enough open area for the maker's intended use. Large slots may suit pasta or larger vegetables but allow smaller grains or pieces through. Fine holes may retain smaller food yet drain more slowly or collect starch. Do not treat a clip-on strainer as an all-purpose sieve unless its instructions support the food and method.
Consider the shape of the draining area too. A deep crescent can hold food back over a wider section of the rim, while a narrow panel may concentrate the flow. Neither design makes an overloaded pot easier to hold. Batch size and liquid volume still need to stay within the complete cookware-and-tool setup you can manage.
Plan the whole draining motion
A clip-on strainer does not support the pot. You still lift, control, and tip the loaded cookware while the attachment and contents move with it. Before using a new tool with heated contents, follow both sets of instructions, clear the sink, confirm that the drain is open, remove loose dishes, and rehearse the route with an empty or cool pot if the makers permit it.
Keep hands and the tool only where the documented method places them. Do not press on the strainer, grab an unapproved edge, improvise a one-handed pour, or rely on the clip to hold food beyond its stated use. If the pot is too heavy, awkward, or difficult to control, use a smaller batch or a supported freestanding strainer instead.
Cleaning and storage decide whether it earns the drawer space
Inspect both sides of the drain surface, every clip, and any hinge or fold. Narrow slots and overlapping parts can retain starch or small food particles. Follow the stated hand-wash or dishwasher directions, use only approved cleaning tools, and let the strainer dry fully before closing or storing it. Replace it if clips, joints, surfaces, or edges become damaged according to the maker's guidance.
Measure the stored shape rather than trusting “space-saving” language. A flexible crescent may tuck into a shallow drawer; a rigid version may stand or hang more neatly; an adjustable design may be compact only after a separate step. The best storage plan keeps the tool dry, visible, and free from pressure that could deform it.
Must-haves and nice-to-haves
Must-have features
- A documented cookware range that matches at least one pot you use.
- An attachment method that leaves the pot handles and your grip unobstructed.
- Drain openings suited to the intended foods and use.
- Current material, use, care, inspection, and replacement instructions.
- Food-contact surfaces and clip areas you can reach and clean.
Nice-to-have features
- A color that makes residue easy to see.
- A hanging hole or stable folded shape that suits your storage.
- Simple one-piece construction when it still fits the cookware.
- Dishwasher compatibility when the exact maker permits it and your machine provides suitable placement.
Who should skip a clip-on pot strainer?
Skip the category if your cookware falls outside the documented fit range, your usual batches make the pot difficult to lift and tip, or the clip interferes with either handle. A clip-on format is also a weak fit when you regularly rinse produce, drain several pot sizes with very different rims, need a supported vessel in the sink, or cannot comfortably clean inside the attachment points.
Choose a compact freestanding colander or another manufacturer-approved method when it gives you a more stable, understandable routine. Saving cabinet space is not a worthwhile trade when the draining motion, fit, or maintenance becomes harder.
Buying checklist
- Measure the rim diameter, thickness, profile, handles, and spouts of each intended pot.
- Verify those details against the exact strainer's current compatibility guidance.
- Match opening size and draining area to the foods and batches you prepare.
- Read attachment, material, temperature, cleaning, inspection, and warning information.
- Map the sink route and confirm you can control the complete loaded setup.
- Inspect clips and hidden surfaces for realistic cleaning access.
- Measure the tool in its stored shape and choose a dry, uncompressed location.
Bottom line
A flexible crescent is the simplest compact starting point when its documented pot range matches your cookware. A rigid model can suit cooks who value a firm edge and open inspection, while an adjustable design earns its complexity only when it clearly fits several real pots. Choose by exact fit, controllable handling, food-sized openings, and cleanable construction—not by a universal-fit label or the smallest package.