Routine washer care tools
How to Choose Washing Machine Cleaning Brushes for Gaskets and Dispensers
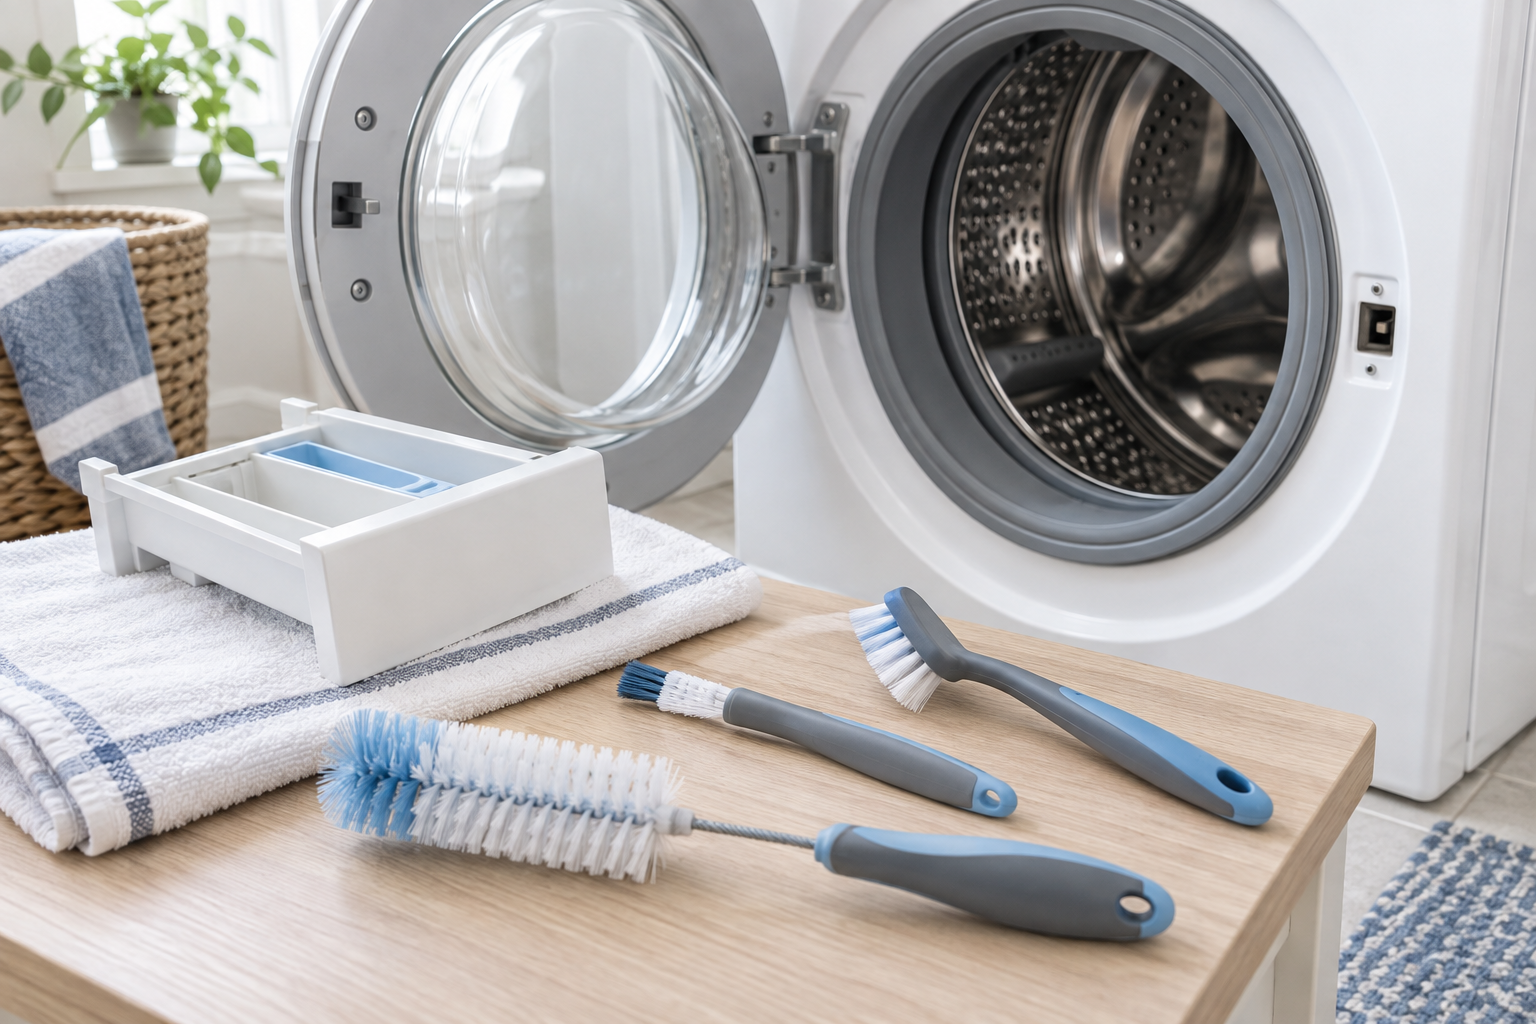
A large scrub brush is usually too blunt for a washer's narrow dispenser channels and gasket folds. A useful small kit pairs a controlled detail brush with a longer, flexible brush only where the appliance manual permits access. Match the tool to the reachable surface, not to a promise that one brush can clean the whole machine.

As an Amazon Associate, The Good Home Doc may earn from qualifying purchases.
Compare brush formats
- Browse category: Narrow washer gasket cleaning brushesCompare head width, bristle softness, handle control, and whether the tool fits only the reachable fold.
- Browse category: Detergent-dispenser detail brushesLook for a compact head that reaches open corners without forcing bristles into ports or seals.
- Browse category: Flexible crevice brushesUse only in accessible passages the appliance instructions allow; flexibility is not permission to probe inside the cabinet.
These category searches are shopping starting points, not tested rankings. Confirm complete dimensions, bristle and handle materials, supported uses, cleaning instructions, drying and storage needs, return terms, and the current washer manual before buying.
Quick Answer: Use a Small Kit, Not One Oversized Brush
For routine accessible cleaning, start with a narrow soft-to-medium detail brush whose head fits the dispenser corners and whose handle keeps your knuckles clear. Add a slim flexible brush only if the manual identifies a reachable channel that can be cleaned that way. A broader short-handled brush can help with a removable tray, but it should not be forced into the gasket or a hidden opening.
Skip bundles full of duplicate shapes. Two well-sized tools that can be washed, dried, and stored separately are more useful than a crowded set with no dimensions or care guidance.
Choose the Brush by Cleaning Area
Small Detail Brush for Dispenser Corners
A compact head gives the best control around open tray compartments, rails, and corners. Compare the brush-head width and height with the narrowest reachable area. Rounded or protected edges are preferable where a hard plastic head could strike a finished surface.
Best fit: removable trays and clearly reachable dispenser recesses. Watch for: a thick head that cannot turn, exposed wire, or stiff bristles that could mark soft plastic.
Angled Brush for Reachable Gasket Folds
An angled neck can keep the handle outside the drum opening while the bristles contact a visible fold. Choose enough stiffness to move loose residue without using the brush as a pry tool. Never pull, stretch, puncture, or detach a gasket to improve access.
Best fit: visible, reachable surfaces the manual tells you to wipe or clean. Watch for: sharp ferrules, oversized heads, aggressive bristles, and handles that encourage excessive leverage.
Flexible Brush for Approved Narrow Passages
A flexible stem can follow a shallow curve, but more reach also makes the tip harder to see and retrieve. Check total working length, stem coating, tip construction, and whether the head can bend back on itself. Do not insert it into hoses, pumps, vents, wiring areas, or openings the manual does not identify for user cleaning.
Best fit: a named, accessible channel with clear appliance instructions. Watch for: detachable tips, bare wire, excessive length, or a vague “universal appliance” label.
Selection Criteria That Matter
- Head dimensions: compare width, height, and bristle length with the actual open space; “small” is not a measurement.
- Bristle stiffness: choose the least aggressive bristle that can handle ordinary loose residue on the approved surface.
- Edge construction: inspect for exposed wire, staples, seams, or hard corners that could scratch plastic or damage a gasket.
- Handle control: favor a grip that works with light pressure and does not require twisting your wrist inside the door opening.
- Flexible-stem recovery: the entire tool should remain visible or reliably retrievable during its permitted use.
- Washability: check how the maker says to rinse or wash the brush and whether trapped debris can be removed from the head.
- Dry storage: a hanging hole, open holder, or separate ventilated container helps the brush dry between uses.
Measure Before You Shop
- Read the washer's care section and identify only the parts intended for routine user cleaning.
- With the machine off and used only as its instructions direct, remove a dispenser tray only if the manual describes removal.
- Measure the narrowest open tray channel and the depth you can see and reach without probing farther.
- For a front-loader gasket, note the width of the accessible fold without stretching it. Check for sharp brush hardware before contact.
- Plan a nearby place where cleaned brushes can dry fully without touching laundry, toiletries, or food-use tools.
Do not use a brush measurement to justify reaching behind panels or into concealed components. If ordinary cleaning cannot reach a recurring problem, the next step is the washer maker's support route or a qualified appliance technician—not a longer improvised tool.
A Conservative Cleaning Routine
Follow the appliance manual for shutdown, product choice, water amount, tray removal, gasket care, and drying. Do not combine cleaning products, and do not assume a household chemical is compatible with the washer because it is common elsewhere.
Work from open surfaces toward smaller details so loose material is not pushed deeper. Use light pressure, keep the hard brush body off seals and finishes, and rinse removable parts only as directed. Afterward, wash the brush according to its instructions and allow both the tool and permitted washer surfaces to dry as the manual recommends.
When a Brush Is the Wrong Tool
- Skip brushing when the manual calls for a cloth, a specific cleaning cycle, or manufacturer service instead.
- Do not use a brush to clear a drain, hose, pump, filter housing, vent, wiring space, or concealed appliance cavity unless the exact instructions explicitly permit it.
- Stop if a gasket is torn, displaced, leaking, or deteriorating; a brush cannot repair it.
- Do not treat visible or recurring growth, strong odor, repeated residue, or unexplained staining as a brush-selection problem. Follow manufacturer guidance and seek qualified help when the source is uncertain or persists.
- Stop using a brush with loose bristles, a separating head, exposed metal, cracked plastic, or residue that cannot be cleaned away.
Who Should Skip a Washer Cleaning Brush Set
Skip a dedicated set if the manual-approved routine works with washable cloths and a basic soft brush you already own. Skip large bundles when the heads have no published dimensions or the maker does not identify intended surfaces. Anyone with limited reach, grip, or visibility should avoid forcing a tool into a tight area and ask for help with the permitted routine.
Renters should report leaks, damage, recurring residue, or appliance faults through the property manager rather than disassembling or modifying the machine. A cleaning brush is for ordinary accessible care only.
Bottom Line
The best washing machine cleaning brush is small enough for the specific reachable area, gentle enough for its approved surface, easy to control, and simple to wash and dry. Start with one detail brush, add an angled or flexible shape only for a verified need, and let the appliance manual—not the brush length—define where routine cleaning ends.
Next step: Put this decision in context with the home-product buying framework guide.