Removable dresser organization
How to Choose Adjustable Drawer Dividers for Renters
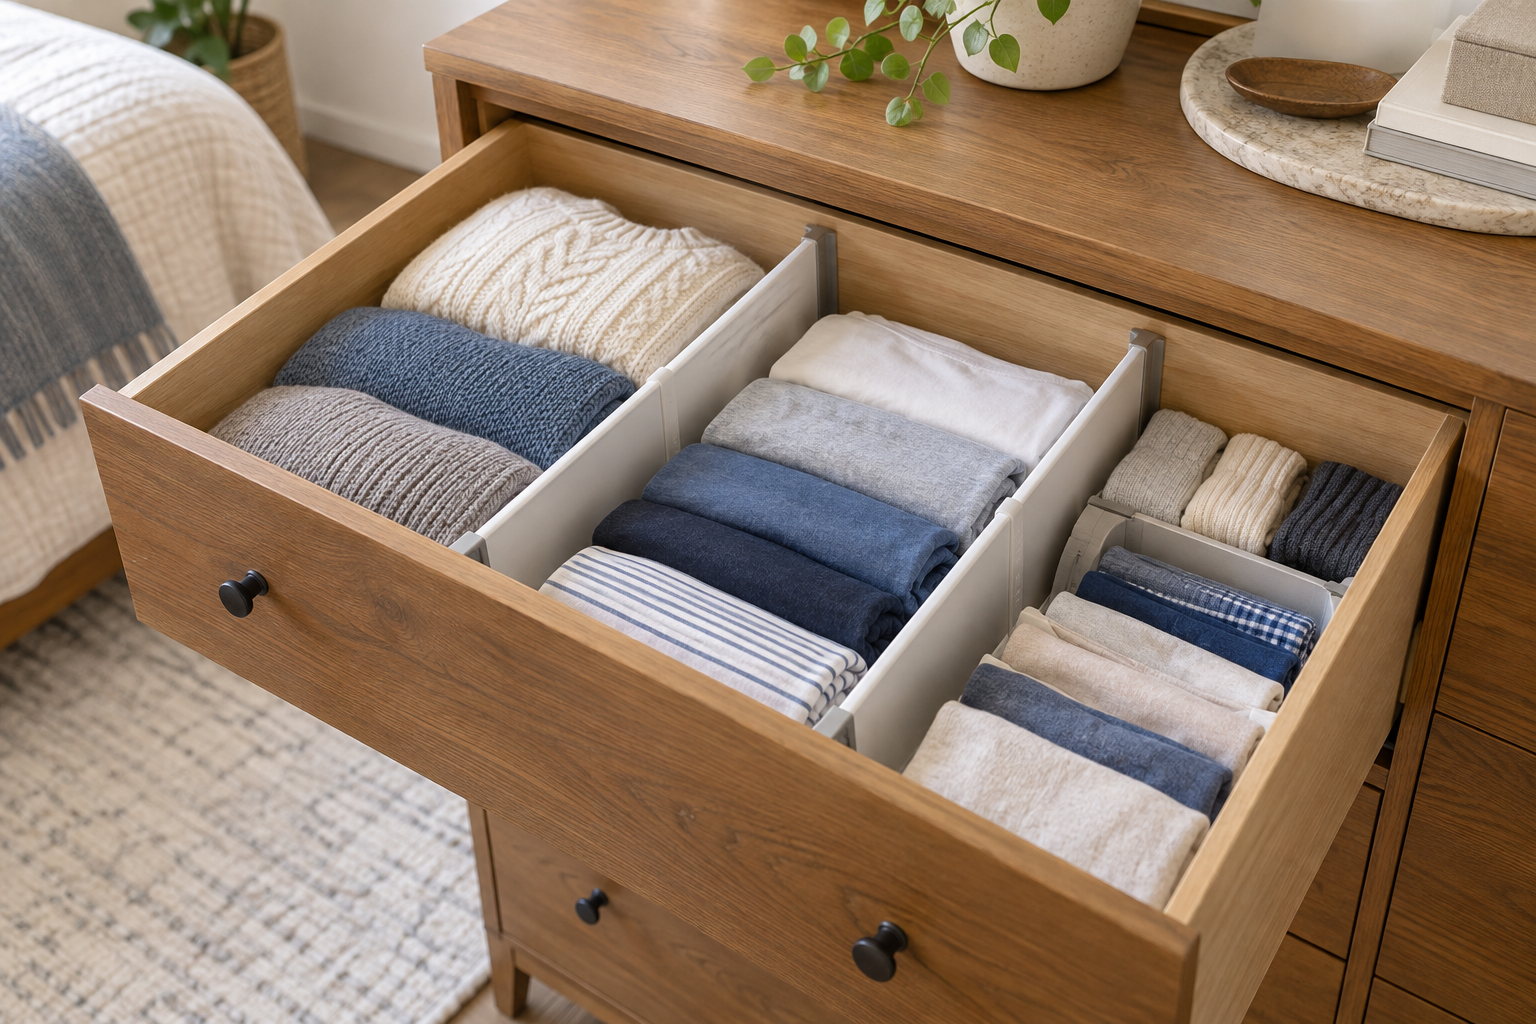
Adjustable dividers can organize a dresser you do not own and move with you later, but a spring-loaded bar is only useful when its full adjustment range, height, end pads, and pressure suit the actual drawer. Measure the interior and plan the folded-clothing layout before shopping.

As an Amazon Associate, The Good Home Doc may earn from qualifying purchases.
Compare removable drawer-divider formats
- Browse category: Adjustable dividers for deep dresser drawersCompare the stated adjustment range, complete height and thickness, mechanism, end pads, surface guidance, and removal instructions.
- Browse category: Spring-loaded clothing-drawer dividersConsider these when you want tool-free setup, but verify the maker's tension guidance and drawer-material restrictions.
These category searches are shopping starting points, not tested rankings. Confirm current product dimensions, instructions, surface restrictions, care, and return terms before buying.
Quick answer: buy for the drawer, not the label
For a deep clothing drawer, look for a divider whose published range includes the measured interior in the direction you plan to install it. The divider should be tall enough to keep folded stacks from leaning across sections, yet leave clearance under the drawer above. Broad, padded ends spread contact better than narrow hard edges, and a controlled lock or spring mechanism is easier to place than one that snaps outward abruptly.
Choose the format that matches your layout
Front-to-back dividers for side-by-side clothing rows
This layout separates shirts, sweaters, sleepwear, or workout clothes into long lanes. Measure the drawer depth at each planned position because drawer backs, fronts, and joinery can reduce the usable span.
Side-to-side dividers for front and back zones
This can keep frequently used items near the front and occasional items behind them. Check whether the drawer narrows around slides or hardware, and make sure the back section remains reachable without unloading the front.
Shorter dividers for socks and small folded items
Smaller sections work when the divider system supports stable intersections or separate short bars. Do not assume unrelated pieces can safely interlock; use only configurations described by the maker.
Measure before you order
- Empty the drawer and inspect the bottom, sides, joints, finish, slides, and hardware. Skip a drawer that is loose, cracked, bowed, peeling, or otherwise damaged.
- Measure the clear interior span at the front, middle, and back where each divider may sit. Use the smallest measurement.
- Measure usable height from the drawer bottom to the lowest obstruction above it, then allow clearance for normal opening and closing.
- Fold a typical load and measure the space each category actually needs. Avoid creating narrow sections that compress clothing or become hard to clean.
- Compare those numbers with the product's full adjustment range and complete dimensions—not a drawer-size marketing label.
Must-have buying checks
- Adjustment range: your measured span should fall comfortably within it, rather than at an extreme that requires forcing the mechanism.
- Divider height: it should guide the stack without touching the drawer above or catching garment edges.
- Controlled mechanism: compare spring-loaded, lever-lock, and screw-adjusted formats by the maker's setup and release instructions.
- End contact: look for intact pads and explicit surface guidance; padding does not guarantee a mark-free result.
- Useful thickness: every divider consumes drawer space, so include its thickness in the planned layout.
- Cleaning access: choose pieces that remove individually so you can wipe or wash them as directed and dry the drawer fully.
Renter constraints and removal risk
A tool-free organizer is reversible, but it is not automatically lease-approved or damage-free. Check your lease or ask the landlord when accessories that press against built-in furniture are restricted. Follow the product and furniture instructions, keep contact points free of grit, and stop if the divider bows a panel, shifts, squeaks, rubs the finish, or makes the drawer harder to operate.
Photograph the empty drawer before setup and inspect under the end pads periodically. At move-out, unload the drawer, release each divider according to its instructions, clean and dry both surfaces, and pack the dividers flat or secured so their mechanisms cannot extend in storage.
Setup, noise, and maintenance
Install one divider at a time in an empty drawer, then open and close it before adding clothes. Load both sides gradually and keep fabric away from moving parts. If clothing pressing against a divider creates rattling or scraping, reduce the load or change the layout rather than increasing tension beyond the instructions.
During routine cleaning, remove lint from edges and end pads, check for cracked plastic, exposed fasteners, weakened springs, or missing padding, and retire damaged pieces. A divider should simplify the drawer, not turn every laundry day into a rebuilding project.
Who should skip adjustable dividers
- Skip them when the drawer material, finish, condition, or dimensions fall outside the product guidance.
- Choose lightweight open bins when you need to lift a whole category out at once or the drawer sides should not take outward pressure.
- Choose shallow trays for very small items that slide beneath tall dividers.
- Skip this category if the drawer is already difficult to open, close, or keep aligned; ask the landlord or furniture owner about the underlying problem.
- Skip dividers if you regularly change the drawer's purpose and would spend more time resetting sections than using them.
Bottom line
The best adjustable drawer divider for a renter fits the measured interior without force, respects the drawer surface, creates sections sized for real folded clothing, removes predictably, and packs for the next home. Favor clear dimensions and instructions over a large piece count or vague universal-fit claim.